Hey everyone! Today I have for you just a box, but this box
holds a secret that makes it so fun and interesting.


I made this little gem with a completely different idea in mind
for it. I was trying out a different concept from a previous
version I had made, but wanted to have a completely removable
lid so it was easier to get into the boxes inside.
This is my previous box.

What you will need to make the box with lid.
1- 3 1/4" x 6 3/4" cardstock
1- 3 1/4" x 7 1/4" cardstock
2- 5" x 5" cardtstock
1-5 1/4" x 5 1/4" cardstock
Let's start with the lid. This is the 5 1/4 x 5 1/4 cardstock
Score all four sides at 1" and cut slits like the picture above.
Score the 3 1/4 x 7 1/4 at 1/2', 3 5/8" and 6 3/4"
Score the 3 1/4 x 6 3/4 at 1/2", 3 5/8"
Taper your 1/2" tabs.
Attach the panel with the 1/2" tabs to the right side of the other panel
so you have 1/2" tabs on both ends.


1- 3 1/4" x 6 3/4" cardstock
1- 3 1/4" x 7 1/4" cardstock
2- 5" x 5" cardtstock
1-5 1/4" x 5 1/4" cardstock
Let's start with the lid. This is the 5 1/4 x 5 1/4 cardstock
Score all four sides at 1" and cut slits like the picture above.
Glue your tabs to the inside.
Do the same thing with the boxes for the inside. These are the 5 x 5 pieces
Score all sides at 1" and cut your slits.
Now we will move onto the box frame to hold it all together.
You will need the other 2 pieces of cardstock.
Score the 3 1/4 x 6 3/4 at 1/2", 3 5/8"
Taper your 1/2" tabs.
Attach the panel with the 1/2" tabs to the right side of the other panel
so you have 1/2" tabs on both ends.
Fold and glue the tabs down.
To clean the inside up and make a more finished piece, I added
3 1/4" x 3" panels to each section.
Now take your boxes and attach.
Add your lid and it is complete.
Once you have the basic structure you can embellish.
What I used to embellish my box is papers and a Pocket Letter
from Sherri Baldy My Besties.
You can find this PL HERE

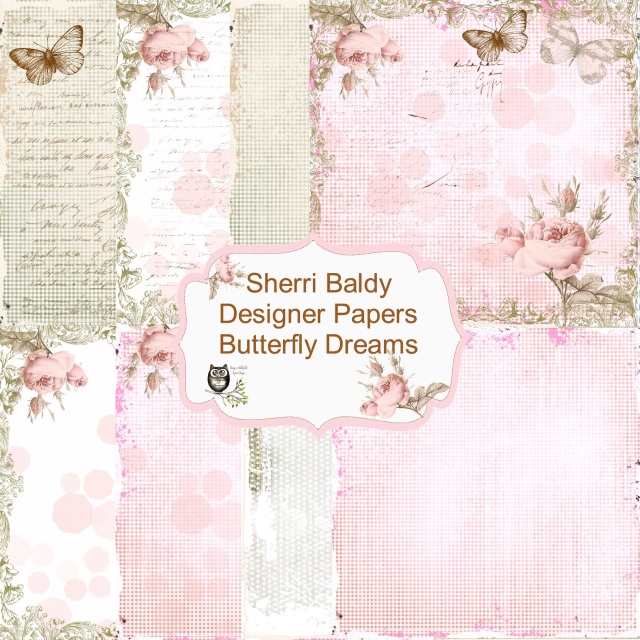
I have also used the Designer Papers
Butterfly Dreams.
You can find the downloadable paper pack HERE

You want to see more creations with Pocket Letters, designer papers,
and pre printables, then come and visit us at

We would love to see all your Besties creations.
Happy crafting!
xoxo
Heather


Absolutely stunning box creations Heather. They are also so nice and practical to put little trinkets in. Thank you for the wonderful tutorial too.
ReplyDeleteHugs
Desíre
{Doing Life – my personal blog}
Thank you Desire.
DeleteThis comment has been removed by the author.
DeleteIt is precious, I am charmed with the composition I congratulate it. Very original project thank you very much for taking part in our challenge http://mybestiesartespana.blogspot.com.es/search/label/Reto . A lot of luck.
ReplyDeleteThank you Art
DeleteMe has dejado con la boca abierta, tu proyecto es increíble!! Muchas gracias por participar en nuestro primer reto. Éxitos!!!
ReplyDeleteAndy Ro- DT My Besties Art España
http://mybestiesartespana.blogspot.com.ar/search/label/Reto
Thank you Andrea
DeleteI loved it, your project is so beautiful... Hugs
ReplyDeleteThanks for sharing at My Besties Art España.
Delfina ~ DT
http://mybestiesartespana.blogspot.com.ar/search/label/Reto
I just fall in love with your box, it is so beautiful and sweet....
ReplyDeleteGracias por participar con nosotras en My Besties Art España!
Karolina Herrera, DT